
How to Make an Interactive Camera in Unity using Cinemachine and C#
While cinematography is a very visual expedition, using cinemachine in Unity allows the user to have ultimate camera control via scripting. In this article, I will make an interactive camera that changes targets and zooms in when user input is pressed.
Variables
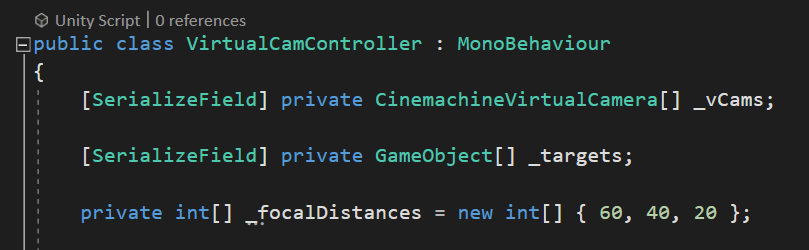
I use three variables for this solution. You could absolutely use single object variables, but for my purposes here, I will build around the this array system. There are two game object array variables, one for the virtual cameras and another for the Look At targets. The last int variable array stores the three desired values I will use to adjust the Field of View. This script is on a parent object for all of the virtual cameras.
Here is the selected parent object (Vcams) with the script on it. Notice that the game object arrays in the serialized fields are empty. These lists will populate via script when the play button is pressed.

Camera Targets
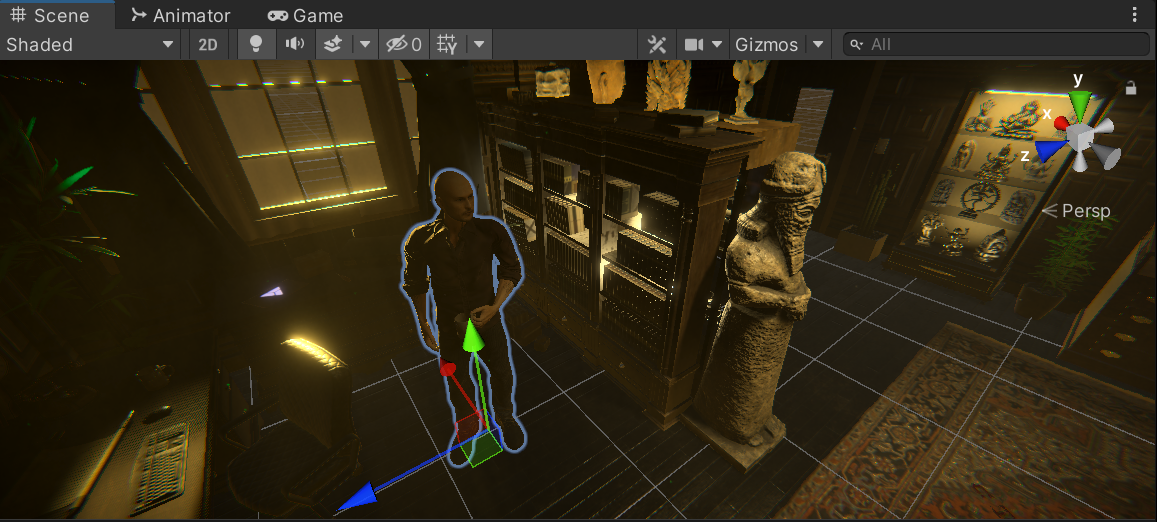
The first target will be the player object here.
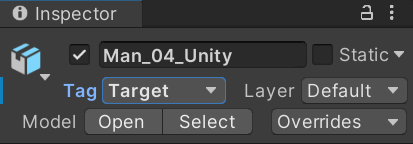
I create a new Tag called Target, and then assign that to the player in the inspector.
The next focal target will be this large statue here.
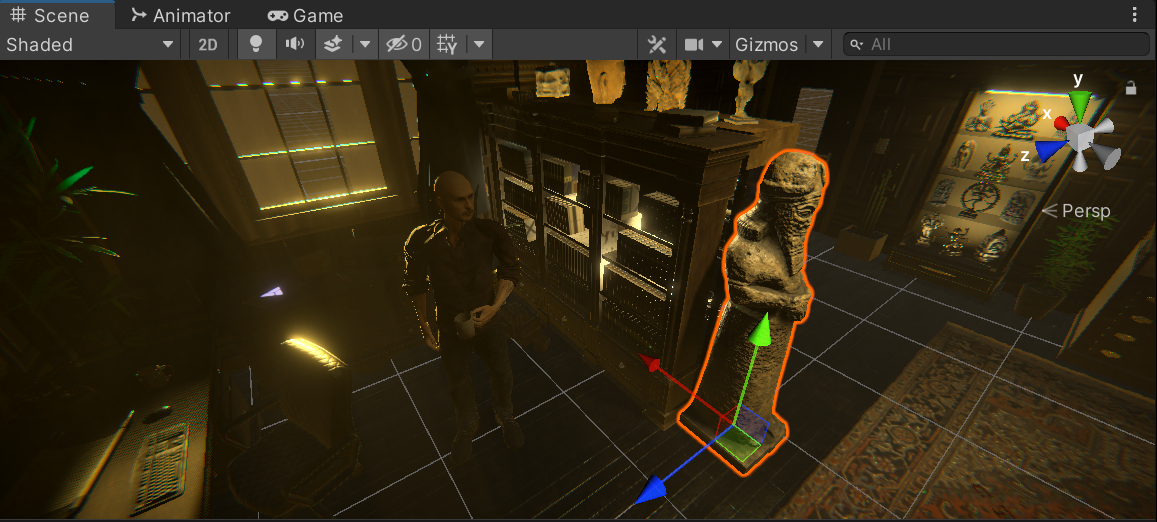
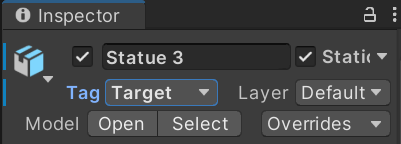
The statue also gets a new Tag of Target.
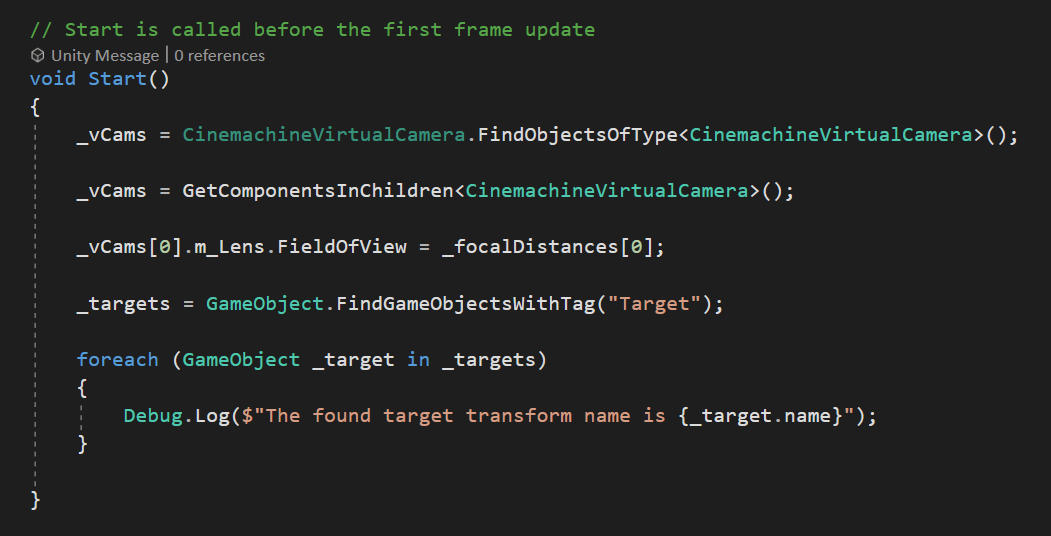
Initialization
Here in the void Start method, I can make attachments to the needed objects for the arrays. The virtual cameras are found by their type. Then, being they have a parent object holding this script, their components are grabbed via GetComponentsInChildren. The focal lens on the first camera [0], is set to the first stored value in the focal distances array (60). The targets array is filled by searching the scene for game objects with the Tag of Target (player and statue). Lastly, a foreach loop runs for each found target, printing it’s name to the console.
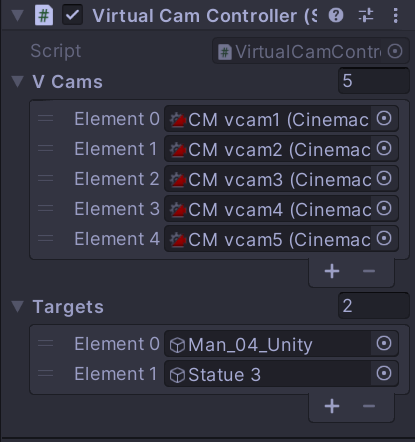
Test with Play
After pressing the Play button, the virtual cameras are shown populating in proper order for their Element number in the array. Note: without using GetComponent from the parent to grab the cameras, they would still work, and populate here, but in a different order. The targets array shows that the two tagged objects were found.
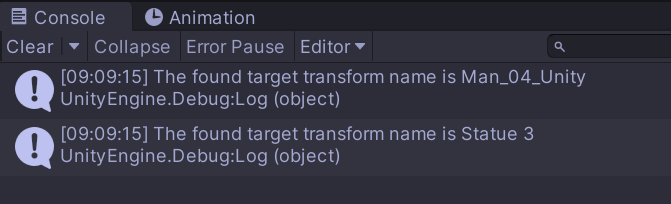
The foreach loop runs and both target names are printed to the console.
User Input
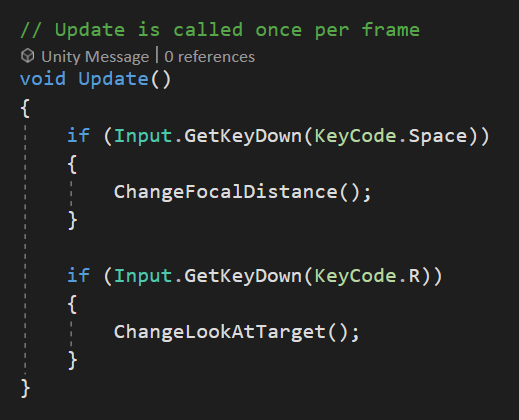
Because these actions are going to quickly respond to the player pushing a button, I need to check the input in void Update. First, the space key is checked, and if pressed, a method is called to change the focal distance on the camera. Next the R key is checked, and calls a method to change camera targets when pressed.
Change Focal Distance
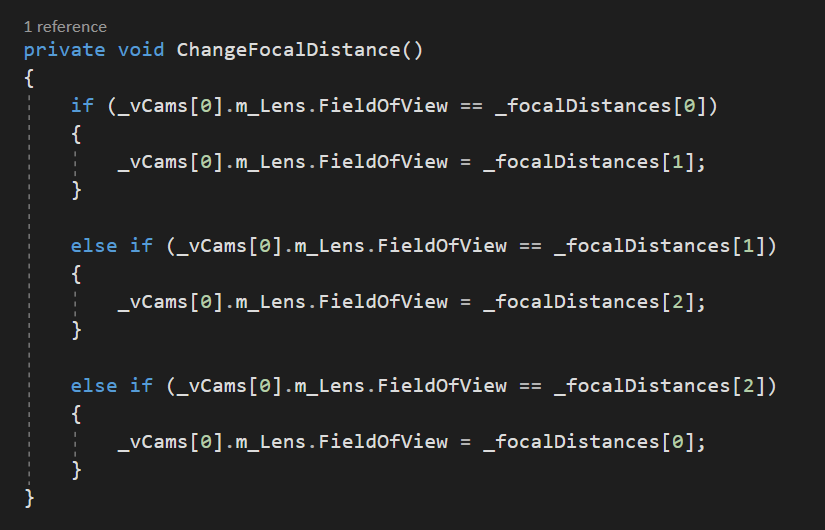
The default focal distance in this situation is 60 (_focalDistances[0]). The first if statement checks to see if the focal distance is equal to 60, if it is, it changes it to the next focal distance (40). If the focal distance is 40, it will set to 20, and then if it is 20, it will reset back to 60. This completes the zoom loop when the Space key is pressed repeatedly.
Here in the inspector you can see the Field of View cycle through the array of values when pressing Space.

Here is a gif of what the camera zoom looks like in the game view.
Change Look At Target
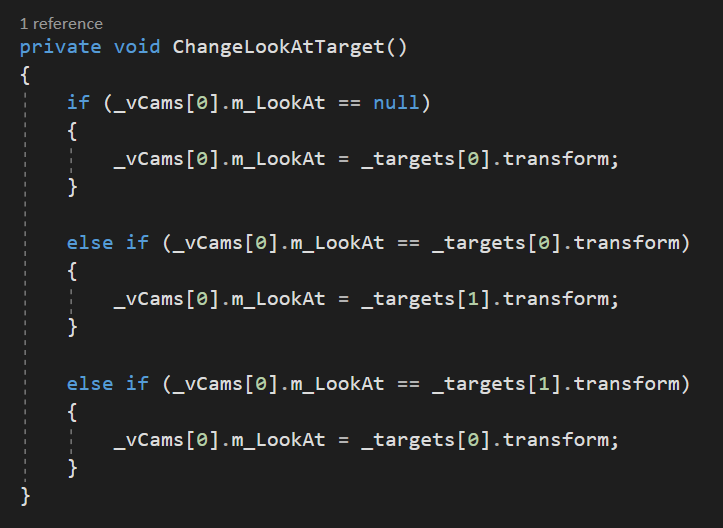
Changing the Look At target works in a similar fashion. The first if statement checks to see if the target is null. If there is no Look At target assigned yet, it will grab the first target in the array. The next two statements switch back and forth between the two targets once the initial target is assigned. I also need to access the transform of each target, being that’s what the Look At uses as a point of reference.
The first time the R key is pressed, the first target becomes assigned to the Look At.

Repeated presses then flips back and forth between the two targets available.

Here is what that looks like in the game view.
That’s it! Thanks for reading along!

